A loud bang in the pipes every time your pump shuts off isn’t your house settling. It’s water slamming backward through a check valve that’s no longer doing its job. That single part, usually smaller than your fist, is the reason your pump doesn’t lose its prime every time it stops and the reason your pressure tank doesn’t drain back down the casing overnight.
A well pump check valve is a one-way gate. Water flows up toward the house and it’s not supposed to flow back down. When it fails, you get symptoms that look like a dozen other well problems: banging pipes, a pump that short cycles, pressure that won’t build, or a pump that hums but never seems to catch. In this guide, we’ll cover the main types of check valves used in wells across North Central Washington, why they wear out, what failure actually sounds and feels like, and what it costs to fix.
If you’re already hearing bangs or losing pressure fast after the pump shuts off, don’t wait on this one. Call us at (509) 300-5151 and we’ll get a tech out to check it, or request a free estimate and we’ll walk you through it first.
What a Well Pump Check Valve Actually Does
Think of your well as a tall column of water sitting inside a pipe that runs from the pump, deep in the casing, up to your pressure tank in the house or pump house. Without a check valve, every time the pump shut off, that entire column of water would fall straight back down the pipe under gravity.
That backflow causes three problems. First, it drains your pressure tank fast, which makes the pump kick on again almost immediately, a pattern called short cycling. Second, the sudden stop of falling water slams into the check valve or the pump itself, creating the banging noise plumbers call water hammer. Third, and worst for your wallet, a pump that loses its prime constantly or short cycles nonstop wears out its bearings, seals, and motor windings years before it should.
A well pump check valve solves all three by snapping shut the instant flow reverses. Most systems have at least one valve right at the pump. Deeper wells, especially those over 100 feet, often use a second or third check valve spaced every 100 to 200 feet up the drop pipe to break the water column into shorter, lighter sections. That’s less weight and less shock on any single valve.
Types of Well Pump Check Valves
Not every valve is built the same way, and the type matters for how it fails and what it costs to replace. Here’s how the common types compare.
| Check Valve Type | Where It’s Used | Typical Lifespan | Replacement Cost (Parts + Labor) |
|---|---|---|---|
| Spring-loaded poppet valve | Most submersible pumps, standard choice | 8 to 15 years | $150 to $400 |
| Swing/flapper check valve | Older jet pump systems, shallow wells | 5 to 10 years | $150 to $350 |
| In-line ball check valve | Some jet pump and booster setups | 8 to 12 years | $175 to $400 |
| Foot valve (bottom of drop pipe) | Shallow well jet pump suction lines | 3 to 7 years | $200 to $450 |
| Multiple spaced check valves | Deep wells, 100+ feet of drop pipe | 10 to 15 years each | $300 to $900 for the set |
Spring-loaded poppet valves are what you’ll find on almost every modern submersible pump installation around here. A small spring holds a disc against a seat, and water pressure from the pump pushes it open. When the pump stops, the spring snaps the disc shut before gravity can get the water column moving backward. They’re compact, reliable, and built to thread right into the pump discharge or drop pipe.
Swing check valves use a hinged flapper instead of a spring. Gravity and flow control the flapper’s motion, and they’re common on older jet pump systems where the valve sits above ground and is easy to service. The tradeoff is a slightly slower close, which means more homes with swing valves report water hammer than homes with spring-loaded valves.
Foot valves sit at the very bottom of the suction line in a shallow well jet pump setup, below the water line, keeping the suction pipe primed between pump cycles. They take the most abuse because they’re constantly submerged and exposed to sediment, and they fail more often than any other type on this list.
On deep wells, we install multiple check valves spaced along the drop pipe rather than relying on one valve at the pump to hold back hundreds of feet of water. This is standard practice recommended by pump manufacturers and it dramatically cuts the water hammer and wear that a single valve would otherwise absorb alone.
Why Well Pump Check Valves Fail
Every check valve eventually wears out, but a few things speed that up in our part of Washington.
Sediment and mineral buildup. The mineral-heavy groundwater common from Cashmere to Quincy leaves scale on valve seats and springs. A little grit is enough to keep the disc or flapper from seating fully, which lets water leak backward even with the pump running.
Spring fatigue. Springs cycle every single time the pump starts and stops, sometimes dozens of times a day on a busy household or an irrigation well. Metal fatigue is just a matter of time, and by year eight to twelve most spring-loaded valves are due.
Debris jamming the seat. Sand, rust flakes from an aging casing, or bits of scale can lodge under the disc and prop it open just enough to leak. This is more common in older wells or ones that have never been chlorinated or cleaned.
The wrong valve for the application. We occasionally find a shallow-well foot valve installed on a deep submersible setup, or a single check valve trying to hold back 300 feet of water column alone. Undersized or mismatched valves fail years earlier than they should.
Rosalie in Cashmere called us about a bang that shook her kitchen cabinets every time the pump cycled off. She’d lived with it for months, figuring it was just an old house. It turned out to be a worn swing check valve at the wellhead that had stopped seating cleanly. We swapped it for a spring-loaded poppet valve for $280, and the banging stopped the same afternoon. If that sound is familiar, our guide on water hammer in well systems covers other causes worth ruling out too.
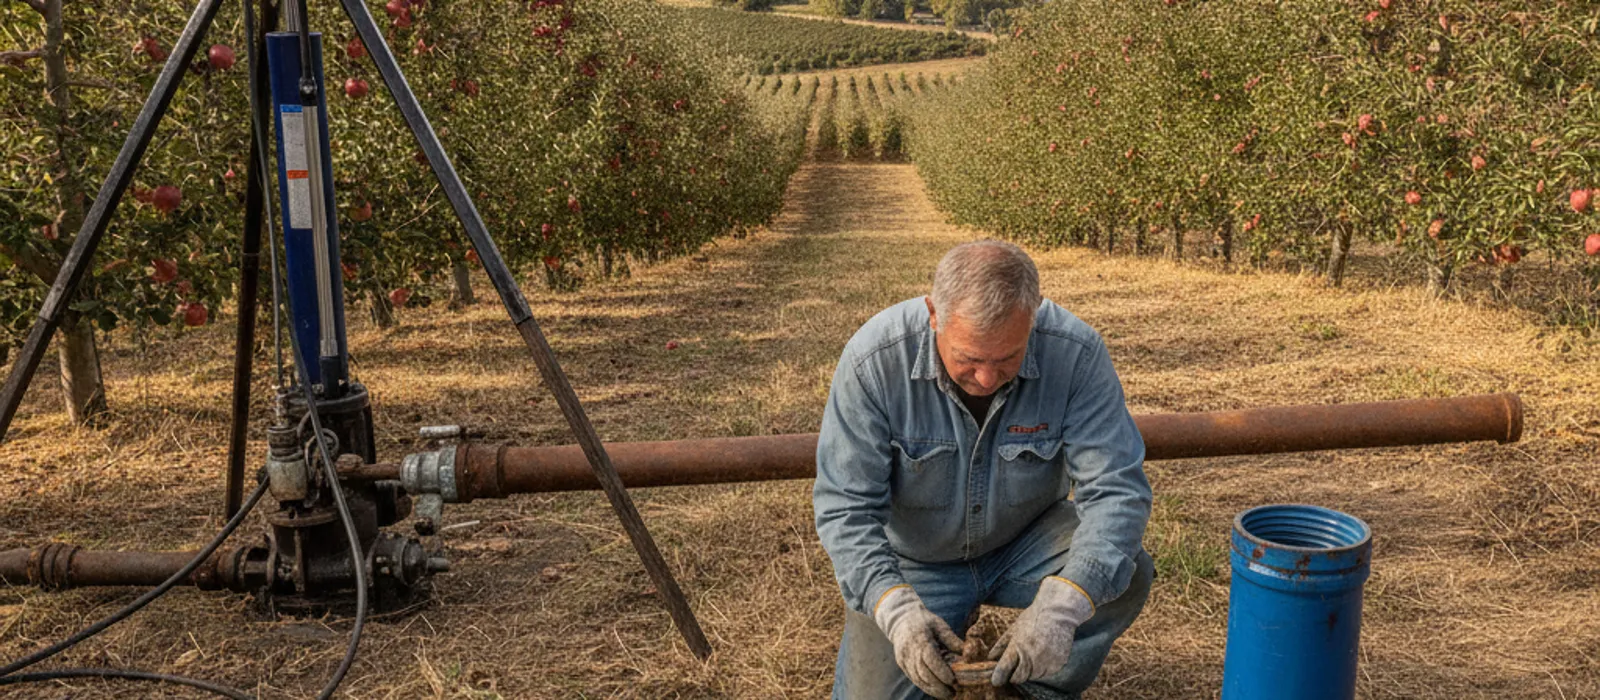
Out in Quincy, an orchard owner named Hank Delgado was running an irrigation well pump that kept short cycling every 15 to 20 seconds whenever a zone was running. He assumed the pressure tank was waterlogged and almost replaced it. Our tech found a failed check valve leaking backward instead, letting the tank drain fast between cycles. The valve replacement ran $340 versus the $1,200 he was about to spend on a new tank he didn’t need. Irrigation wells take a beating from constant cycling during growing season, which we cover more in our piece on irrigation well pumps.
Signs Your Check Valve Has Failed
A bad well pump check valve rarely fails quietly. Watch for these:
- Banging or thumping in the pipes right when the pump shuts off, the classic water hammer sound.
- Short cycling, where the pump kicks on and off every few seconds or minutes even with no water running.
- Long pump run times before pressure builds, because the pump is re-priming the column instead of just topping off the tank.
- A humming pump that struggles to reach normal pressure, which can point to a lost prime from backflow. We break that scenario down further in well pump humming but not running.
- A pressure tank that reads low first thing in the morning even though nobody used water overnight, a sign the tank drained back through a leaking valve all night long.
None of these symptoms are exclusive to a check valve. A waterlogged tank, a failing pressure switch, or a worn pump can all mimic the same signs. That’s exactly why a proper diagnostic beats guessing, especially before you spend money replacing the wrong part. Our well pump repair team in Wenatchee can pressure test the system and pinpoint which component is actually at fault.
What Check Valve Repair Costs in the Wenatchee Valley
Check valve work is on the cheaper end of well repairs, which is good news since ignoring one tends to damage more expensive parts. A single valve swap at the wellhead or pump discharge typically runs $150 to $400 depending on access and valve type. If the valve is down the casing on a submersible drop pipe, the pump has to come up to reach it, which pushes the job closer to $600 to $1,200 because you’re paying for the pull and reset, not just the part.
If multiple valves along a deep drop pipe have failed together, often from age rather than one bad part, replacing the full set while the pump is already up runs $300 to $900 for parts on top of the pull labor. It’s rarely worth pulling a pump twice within a few years, so if one valve is due, we’ll usually recommend replacing all of them on that trip.
Emergency after-hours calls, like the middle-of-the-night no-water situations a total prime loss can cause, add $150 to $300 to the standard service rate. Our 24/7 emergency well service covers exactly that kind of call, any hour, any day.
Marta and her husband out near East Wenatchee woke up to zero pressure on a Tuesday morning, nothing at any faucet. Their submersible pump had lost prime overnight after a failed check valve let the entire column drain back to the water table. The pump itself was fine, it just had nothing to push. Pulling the pump, replacing two worn valves, and resetting the system cost $980, done same day. Compare that to a full pump replacement at $1,800 to $4,500, and catching a check valve early looks like a bargain.
Preventing Check Valve Failure
You can’t stop a check valve from aging, but a few habits slow it down.
- Don’t ignore small bangs. A single soft thump when the pump shuts off, caught early, is a $200 fix. Left alone for a year, it can crack fittings and damage the pump housing too.
- Match valve count to well depth. If your well is over 150 feet and you’ve only got one check valve, ask your tech whether adding a second would ease the strain during your next service visit.
- Keep sediment out of the system. Fine sand and grit accelerate valve wear. If your water runs cloudy or gritty, our post on submersible vs. jet pump systems covers how pump type affects sediment intake, and it’s worth a read if you’re due for an upgrade anyway.
- Replace on schedule, not just on failure. Most valves are good for 8 to 15 years. If yours is past that window during a service call, swapping it proactively costs far less than an emergency repair after it fails.
- Have your system checked annually. A pressure and cycle test during a routine visit catches a leaking valve long before it announces itself with a bang at 2 a.m.
Washington’s Department of Health maintains guidance for private well owners on system components and maintenance basics, and the EPA’s private well owner resource page is a solid general reference if you want to understand how the pieces of your system fit together before you call anyone out.
Not sure if what you’re hearing is a check valve, a tank, or something else entirely? Schedule a free estimate and we’ll test the whole system in one visit rather than guess and swap parts one at a time.
Frequently Asked Questions
How many check valves does a well pump need?
Most shallow wells need just one, either at the pump or the wellhead. Deep wells, generally over 100 to 150 feet, often use two or three spaced along the drop pipe so no single valve has to hold back the entire water column alone. Your pump’s manufacturer specs usually state the recommended spacing for your depth.
Can a bad check valve damage my well pump?
Yes, and it’s one of the more common ways pumps die early. A failed valve causes short cycling and lost prime, both of which put extra wear on the motor, bearings, and seals every single cycle. A $200 to $400 valve replacement now is far cheaper than the $1,800 to $4,500 a full pump replacement can run later.
What does a failing well pump check valve sound like?
The most common symptom is a bang or thump in the pipes right as the pump shuts off, caused by water slamming backward before the valve seats. You may also hear rapid clicking at the pressure switch or notice the pump running longer than usual to rebuild pressure after sitting idle.
Is replacing a well pump check valve a DIY job?
A valve at the wellhead or pump discharge above ground is sometimes manageable for a handy homeowner comfortable shutting off power and depressurizing the line first. Anything requiring the submersible pump to be pulled from the casing involves heavy equipment, wiring, and down-hole work, and that’s a job for a licensed well professional every time.